 Dana O'Driscoll
 When you are first learning herbalism, it can be quite fun to go out, identify plants in your garden and broader ecosystem, and make medicine from them. As you attend herbal courses and learn, you quickly expand your medicine cabinet. In a few short months or years, your apothecary is overflowing with many jars of tinctures, glycerites, oils, and dried herbs. How exciting! But there can be a big step from the time that you make and learn about the herbal medicine to actually integrating that herbal medicine into everyday life. Where do you go next? How do you document, use, and learn from this apothecary? It can be overwhelming to take the step from class and making to integration in your life.
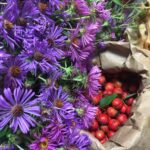
I had this experience when I was in herb school—I spent all year of my first year of herbalism, along with another friend who was taking the course, finding and either drying or tincturing literally every herb we discussed that we could. This quickly expanded to well over 75 different locally-based herbs. My tinctures, oils, salves, and more had a dedicated single shelf in my kitchen, which quickly overflowed to another shelf in my living room, and finally, all of my herbal preparations ended up on some extra shelves I had in my large-walk in closet in the bedroom because that was the only place large enough to house them. And then I looked at all these wonderful dried and tinctured plants and felt completely overwhelmed. I took several regularly—Hawthorn, New England Aster, Reishi—and worked with other herbs on occasion. But the truth is, many of them, including the more obscure ones, sat and sat, gathering dust on the lids. I was almost afraid to use them, didn’t feel that I knew enough and had to keep learning. In talking to a lot of newer herbalists, this is a common experience!
In truth, there can be a big gap between learning about herbs in a class and integrating that herbal knowledge into daily life. But if we don’t integrate it or use it beyond the course, we haven’t really learned it. Your apothecary, therefore, can be the center of your herbal learning. In this article, I’ll share some suggestions both from a perspective of long-term learning as a herbalist and getting the most use out of your apothecary, and how to use the apothecary to center your learning and practice as an herbalist.
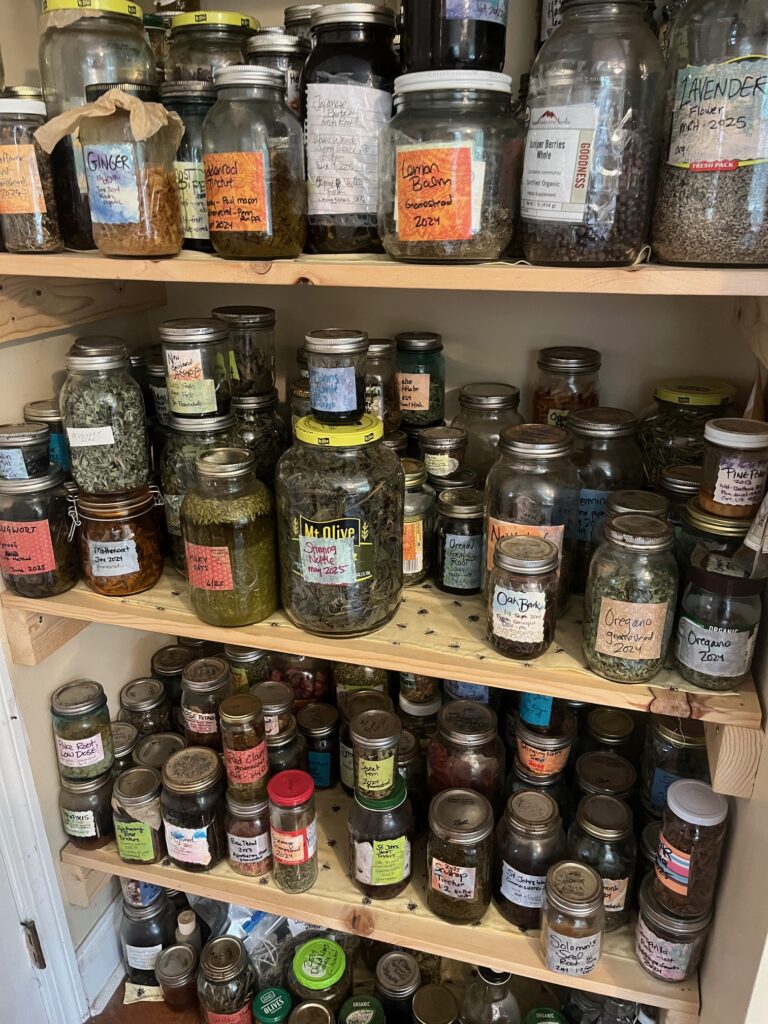
Setting Up Your Apothecary: Location, Documentation, and Cycling Through
Principle 1: Locate your apothecary in a place that is easily accessible and is central to your life.
Let’s start with the first thing I did wrong—locating my apothecary in a bedroom closet, far from my kitchen and from the main throughfare of my house. Why? Because I didn’t go in there very often—it wasn’t easily accessible, and because it was out of sight, it was out of mind.
Ideally, having an apothecary located near your kitchen is preferable, since so many herbal preparations require things like heat, water, or even washing the tools and jars after use. My current apothecary is located in a room adjacent to the kitchen and to the porch, where I dry many of my herbs. This makes it super easy for me to prepare herbs in the kitchen and also clean up easily. The apothecary is also centrally located so that visitors can engage with it. Other considerations is that you want your apothecary somewhere that it will stay relatively cool and also a darker place (have a door or a cloth that keeps the light out). This will help preserve your herbal preparations long-term.
Along with location, consider the other tools you might want easy access to: tincture bottles, spatulas, double boilers, jars, labels, and more. Locate these near the herbs so that everything is together. You don’t need a lot of space, but you do want to organize the space so that it is easy for you to use without frustration or things falling on you. Not that I have any experience with that, haha!
Principle 2: Create an organizational system that is easy and intuitive to use.
Your apothecary, especially as it expands, is only as good as you are able to document it and easily find things. It is no fun to search through jars and jars every time you want to make something, even if you have those jars in alphabetical order. As soon as you reach about 15-20 different plant preparations, I suggest you take this step, especially if your apothecary is expanding quickly as you are learning. Thus, I recommend the following (growing your apothecary as you go!)
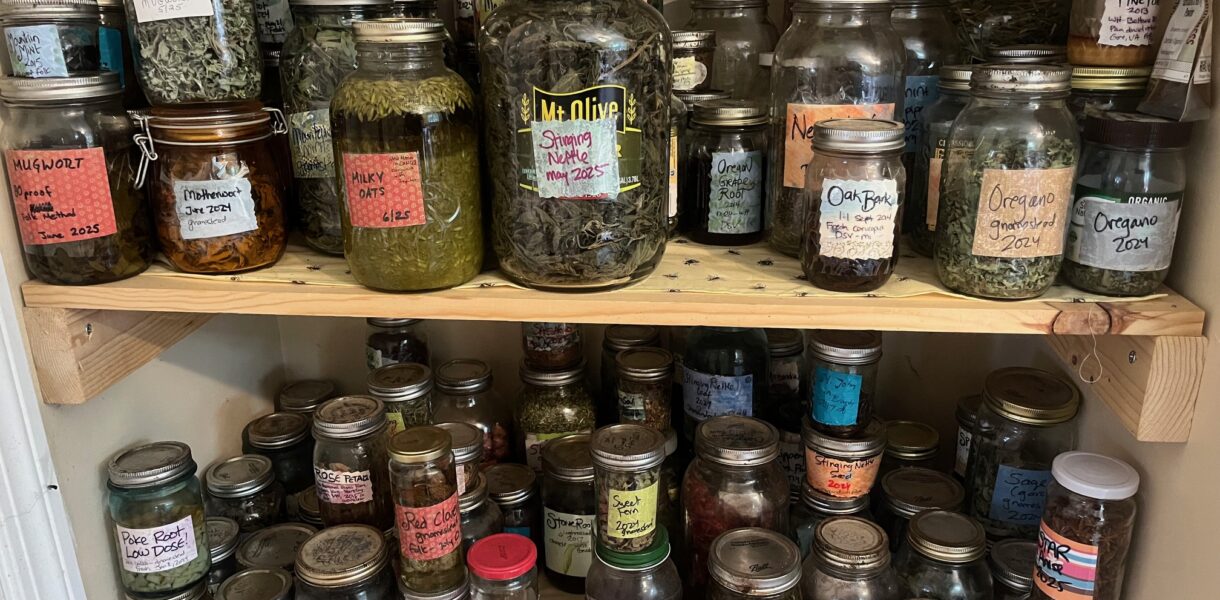
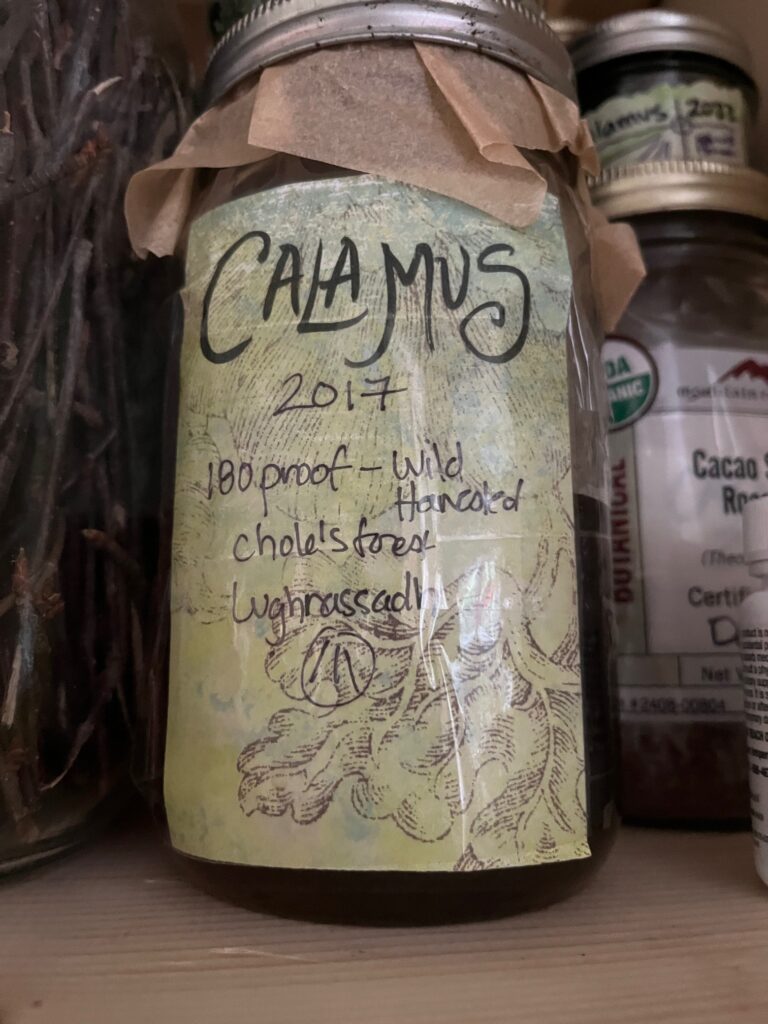
Clearly label all items in your apothecary. They should include the following: Name of herb (including the Latin name if you prefer), date you created the item, what the item is, details about the creation (e.g. if it’s a tincture, include the proof of alcohol and type) and also the location where you obtained an herb. You can also include anything else that is important to you (I often include the moon phase on my own bottles).
Consider how you will organize your apothecary effectively and intuitively. A smaller apothecary can be organized with all preparations in alphabetical order. A larger apothecary will benefit from splitting the different preparations. My current apothecary has about 300 different jars; I have different shelves and sections for dried herbs, tinctures, mushrooms, essential oils, hydrosols, and also herbal vinegars and oxymels. This makes it easier to navigate my herbal preparations.
Consider also how you will store items in your apothecary. My personal favorite is to use mason and glass jars with sealable lids: mason jars, pickle jars, you name it. As long as it is glass and seals well. You can also ask family and friends to save you all of their glass jars from things like pickles (especially the larger jars) and soon you will have more than you need. It’s a good idea to have jars of different sizes to handle differing amounts of herbs. I am not a fan of plastic use long-term as plastic releases phyto-estrogens and other harmful compounds. I will note that high-proof alcohol and vinegar tinctures do break down lids over time, so you can add a layer of wax paper or parchment paper on the inside lid. You should also check lids at least once a year and replace old lids.
Consider how you will document your apothecary. Once you get beyond the 15-20 plant preparation mark, consider creating some kind of record. I use a spreadsheet (on Google, so I can share it) and print the sheet out. I record any changes on the printed-out sheet, and once a month, I update the sheet and print out a new copy. Then, when I need something, I can immediately go to the spreadsheet. The digital nature of the sheet means I can also share it with a few other local herbalists and they know if I have something that they need, and vice versa. In addition to documenting what is in the apothecary, I like to document what I need to harvest or prepare (e.g. what do I run out of) and also what I use, so know how much to prepare when I am making new preparations.
Here is an example of my blank Google spreadsheet that you can copy and use yourself or adapt.
Principle 3: Pay attention to the quality and freshness of your herbs, cycling out old herbs as necessary.
All herbal preparations have a shelf life. Tinctures can last 10 or more years, while dried plant matter can last as little as six months (I’m looking at you, ground ivy!) Another important thing is to keep track of the dates and replace your herbs as necessary. You want your herbs to be as fresh and as potent as possible. My general rules are as follows: 1) I will use the oldest herbs first when making preparations, checking to see if they still look, taste, and smell fresh and 2) to replace dried herbs every two years at minimum, and replace tinctures every 10 years in most cases. Some herbs need to be replaced every year, and some tinctures may last longer. But you should, at least once a year, review the apothecary and check your older jars. This is a great winter activity for when the snows are coming down!
Principle 4: Make your apothecary a comfortable place that you want to spend time in.
Taking the time to make your apothecary a space for healing and growth is an important part of this. Take the time to get shelves built, put a nice coat of paint on the walls, and put up some fun artwork. Put in a nice, comfortable chair or sofa. Even if it’s a nook in a multipurpose room that is shared with other people or activities, take time to really craft a small space that you enjoy being in so that you will visit often.
Putting Your Apothecary to Work: Learning From and Using Your Apothecary
If you’ve done everything above, you are now ready to put your apothecary to work! You have an apothecary that is easy to access, well-organized, and that will store herbs successfully. You’ve set yourself up for the actual practice of herbalism and deepening your herbal knowledge. Now we consider: how do you actually use your apothecary? How do you make your apothecary part of your everyday life?
Principle 5: Make it a point to create something from your apothecary each week, ideally with different herbs.
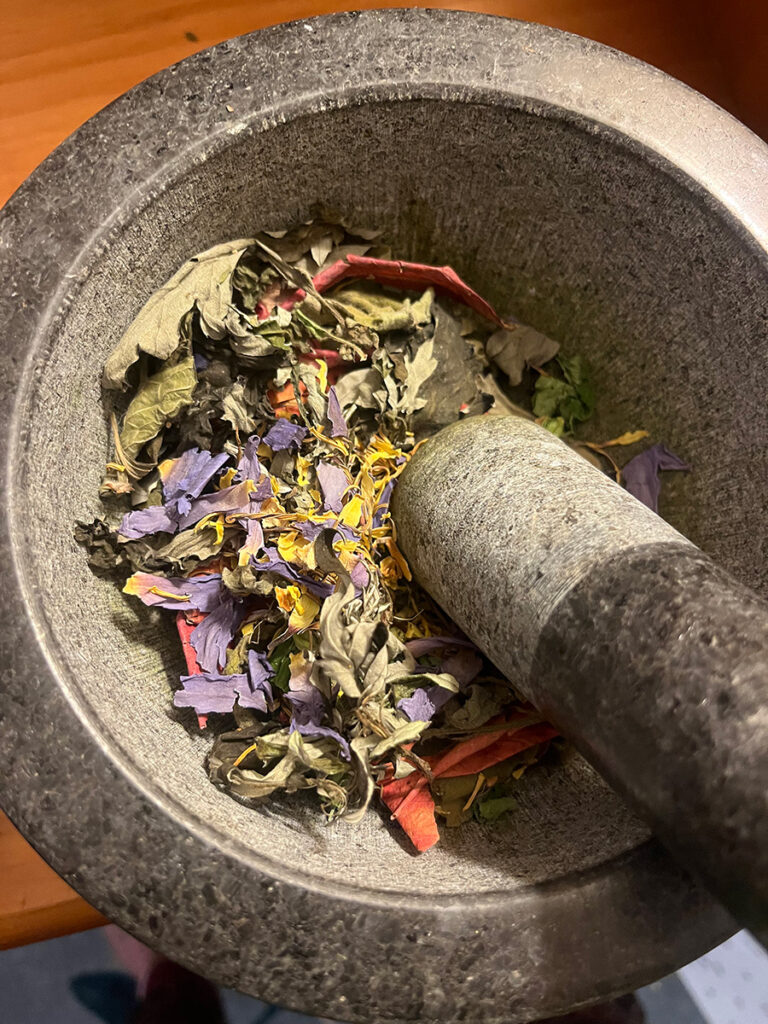
One of the most important things to do to integrate herbalism into your life is to actually work to use your apothecary each week. You can set aside time each week, or even work on plant preparations with friends or children. There are lots of ways of doing this, but I think one of my favorites (and my personal strategy for this) is to make regular tea blends. Tea blends are a great way to use your apothecary—especially an apothecary located next to the kitchen. Every few days, I will put a big pot of water on the stove and then reach for various jars—whatever I need at the time. Sometimes this is a single herb and sometimes this is a blend.
Another thing I do as part of my own herbal practice is to make myself regular seasonal blends of herbs. At the solstices, equinoxes, and mid-points (about every 8 weeks), I sit down and do a check-in with myself on what my body needs. Then I craft an herbal blend that I put into a 2-oz tincture bottle. I take half a dropper each day morning and night (I keep it next to my toothbrush), and by the time the 8 weeks are over, I am out and can make a new blend. This allows me to build in herbs that I need for my own life and adapt to changing circumstances.
Principle 6: Go to your apothecary first when you and others in your household are sick.
On the theme of using your apothecary, this next principle also helps you greatly deepen your practice. While it can be easy and habitual to reach for the pharmaceuticals, start to learn how to address common issues (flu, cold, sore muscles, GI issues, headaches, nausea, etc) and have blends and herbs for those common issues. Consider also what happens if you, the herbalist, is sick—would you be able to direct someone else to select herbs and make a preparation? If not, can you have some ready to go for your own common illnesses? (See our upcoming Acute Herbalism course on November 13th, 2025 for more info and to make some common blends!). There is a deep practicality to doing this: by using the apothecary for what you need, and finding the gaps in what you don’t yet have prepared.
Principle 7: Learn and study the plants in your apothecary, starting with those you need the most or are the most abundant.
Each of us eventually has to integrate what we are learning with our own knowledge and experience. What does that look like for you? Each of us learns differently. Maybe you are best with a notebook, best with a playlist of Youtube videos, or with visually mapping out the herbs and their properties.
When we teach herbalism through the Pennsylvania School of Herbalism classes, we provide Materia Medica sheets on each of the major herbs we are discussing. You can print these out and study them. Eventually, in time, you can take these materials along with books or other knowledge and compile your own understanding.
For me, I have found it invaluable to have material medica sheets or easy reference for the herbs in my apothecary on my most common and abundant herbs. I find great value in creating these for myself as a way of building my herbal knowledge, as it applies to what I actually have on hand. If you have herbs you’ve harvested you aren’t sure about, take an hour to learn them, reading about them (books and classes are so much better than most websites, especially big health websites or AI-generated drivel) and make some notes, a notecard, or a sheet for yourself. You’ll be glad you did, and the next time you need an herb, you will feel more comfortable reaching for that jar in your apothecary!
Conclusion
As you can see from this article, the herbal apothecary can be a center point of your herbal practice. By centering it in your home, in your life, and in your herbal journey, it can be a place not only of deep healing and personal transformation, but of empowerment and joy!
If you have enjoyed this article, consider signing up for our upcoming Creating and Using Your Home Apothecary Course in October 2025!